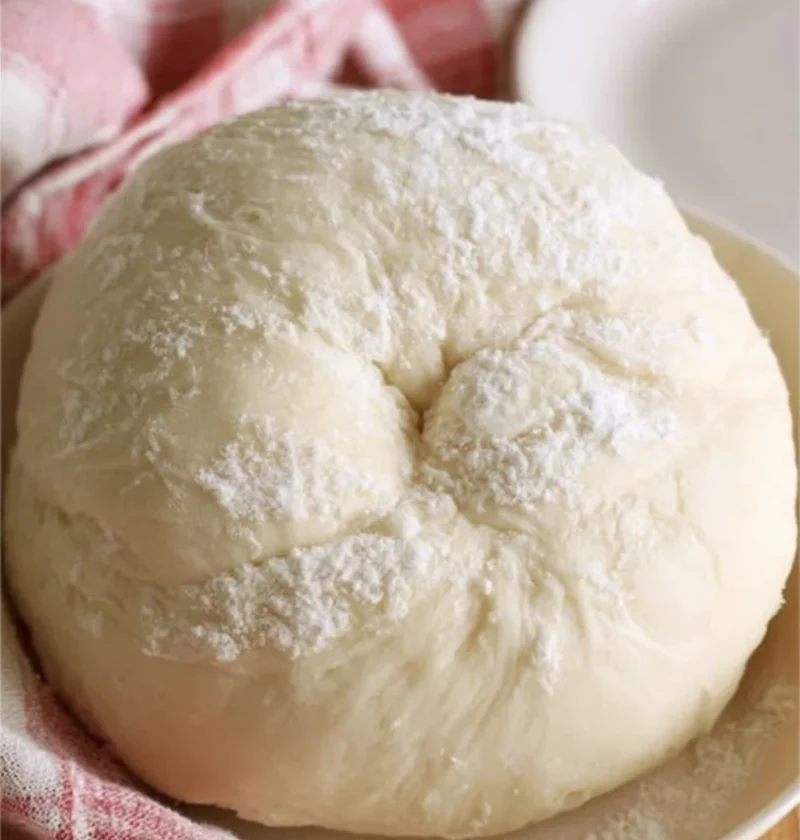
Making your own bread at home can be a rewarding experience, and “The Master Dough” is your perfect gateway into the world of bread-making. This versatile dough can be adapted to create over ten different types of bread, making it an essential recipe for both novice and experienced bakers alike. The beauty of this dough lies in its simplicity — with just a few basic bread ingredients, you can produce a variety of delicious results, from crusty artisan loaves to soft, fluffy rolls. As you start your bread-making journey, you will discover the enchantment of transforming simple ingredients into something truly special. With a little patience and some basic bread-making tools, you’ll be able to impress your family and friends with homemade bread that rivals any bakery. Beyond just the satisfaction of crafting something from scratch, there’s an enchanting aroma that fills your home as the bread bakes, creating an inviting atmosphere that entices everyone. The smell of freshly baked bread is not just enticing; it’s a memory in the making, a warm embrace that connects us to our heritage and family traditions. These experiences make “The Master Dough” not just a recipe, but a joyful journey into the heart of baking, allowing you to create lasting memories around the dining table.
Ingredients
- Dry Ingredients:
- 4 cups all-purpose flour (plus extra for dusting) – Make sure to spoon the flour into your measuring cup instead of scooping it directly, as this can pack it too tightly and lead to denser bread. You want the flour to be light and airy for optimal texture.
- 2 teaspoons salt – Use sea salt or kosher salt for a cleaner flavor, avoiding table salt, which can be overly salty and may have an unappealing aftertaste.
- 1 teaspoon sugar – This small amount will help to activate the yeast and provide a touch of sweetness to balance the saltiness, creating a more harmonious flavor profile in your bread.
- 2 teaspoons instant yeast – Instant yeast allows for faster rising and can be added directly with the dry ingredients, making it a baker’s preferred choice. This yeast provides consistent results and is convenient for home bakers.
- Wet Ingredients:
- 1 ¾ cups warm water (about 110°F or 43°C) – The warmth of the water is crucial for activating the yeast; test it with your wrist to ensure it’s comfortably warm, not hot, to avoid killing the yeast. The right temperature promotes a healthy rise.
- 2 tablespoons olive oil (optional for added flavor) – Extra virgin olive oil will impart a rich, fruity taste that enhances the overall flavor profile of the bread, contributing to both taste and moisture.
Special Notes: For best results, use high-quality flour that is enriched for bread-making. You can substitute half the all-purpose flour with whole wheat flour for a nuttier flavor and denser texture, which adds additional health benefits and fiber. If you’re looking for a gluten-free option, consider using a gluten-free flour blend that is suitable for bread-making. Always check the label to ensure it contains xanthan gum or add some separately to help mimic the gluten structure, which is vital for the dough’s elasticity. You can learn more about this topic and explore other variations that adapt “The Master Dough” to your dietary needs.
Steps / Instructions
- Prepare the Dry Ingredients: In a large mixing bowl, combine the all-purpose flour, salt, sugar, and instant yeast. Mix these dry ingredients together until they are well incorporated. Be sure to break up any clumps of yeast, as this will ensure an even rise throughout the dough. Use a whisk for better aeration, which contributes to a lighter loaf.
- Add the Wet Ingredients: Gradually pour in the warm water and olive oil (if using). Stir with a wooden spoon or your hand until the mixture forms a shaggy dough. This dough may feel sticky initially, which is perfectly normal and indicative of a well-hydrated dough. Embrace the stickiness, as it will help create a moist crumb in the finished bread.
- Knead the Dough (Optional): If you prefer a more traditional approach, knead the dough on a lightly floured surface for about 8-10 minutes until it becomes smooth and elastic. You can tell it’s ready when it springs back when poked. However, for a no-knead bread method, skip this step and proceed directly to the first rise. Remember, the goal is to develop gluten without overworking the dough.
- First Rise: Transfer the dough into a lightly greased bowl. Cover it with plastic wrap or a damp cloth and let it rise in a warm place for about 1-2 hours, or until it has doubled in size. Ideal rising conditions include a turned-off oven with the light on or a warm spot near a radiator. A humid environment will aid the yeast in its fermentation process, creating a better texture.
- Shape the Dough: After the first rise, gently punch down the dough to release any trapped air. Turn it out onto a lightly floured surface and shape it into your desired loaf or rolls. For a round loaf, shape the dough into a ball; for a traditional loaf, form it into a rectangle and roll it tightly. Ensure your dough is evenly shaped for uniform baking.
- Second Rise: Place the shaped dough onto a baking sheet lined with parchment paper. Cover again and let it rise for another 30-60 minutes until puffy. This second rise is crucial as it will enhance the texture of your finished bread. You should notice a significant increase in volume during this time.
- Preheat the Oven: About 20 minutes before baking, preheat your oven to 450°F (230°C). If desired, place a baking dish filled with water on the bottom shelf to create steam, which will help develop a crusty exterior. The steam will provide that characteristic crunch and facilitate better oven spring, enhancing the overall aesthetic and texture.
- Bake the Bread: Once preheated, bake the dough in the oven for 25-30 minutes, or until the bread is golden brown and sounds hollow when tapped on the bottom. The internal temperature should reach around 200°F (93°C). You may also want to rotate the baking sheet halfway through baking for even color, ensuring every side is beautifully browned.
- Cool: Remove the bread from the oven and let it cool on a wire rack before slicing. This step is crucial for achieving the perfect texture, as slicing too soon can result in gummy bread. Cooling allows moisture to redistribute, yielding a better crumb structure.
Tips & Tricks
- Storage: Store your bread in a paper bag at room temperature for up to three days. For longer storage, wrap it tightly in plastic wrap and freeze for up to three months. Make sure to slice the bread before freezing to make it easier to toast or use later, ensuring you can enjoy fresh bread quickly.
- Make-Ahead Options: You can prepare the dough ahead of time and store it in the refrigerator for up to three days. Just let it come to room temperature before shaping. This allows for a more developed flavor, as the cold fermentation process enhances the taste and texture, resulting in a richer flavor profile.
- Common Mistakes: Avoid adding too much flour during shaping; the dough should be slightly tacky. This ensures a light, airy loaf. If the dough is too dry, your bread will be dense and unappetizing. Adjust your flour based on humidity levels, as this can greatly affect the dough’s hydration.
- Pro Techniques: Experiment with the dough fermentation process by allowing it to rise slowly in the fridge overnight for enhanced flavor and texture. This slow fermentation allows the dough to develop complex flavors and improves its handling properties, giving you artisan-quality results right at home.
Conclusion
With “The Master Dough,” you hold the key to a world of flavorful bread variations. As you master this simple dough, you’ll find yourself creating rustic bread flavors that bring warmth and comfort to your home. Don’t hesitate to experiment with different ingredients, such as herbs, cheeses, or spices, to make your bread uniquely yours. Whether you’re baking for the family or impressing guests at a gathering, this adaptable bread dough recipe is sure to become a staple in your kitchen. Happy baking! Check out our related guide for more tips.
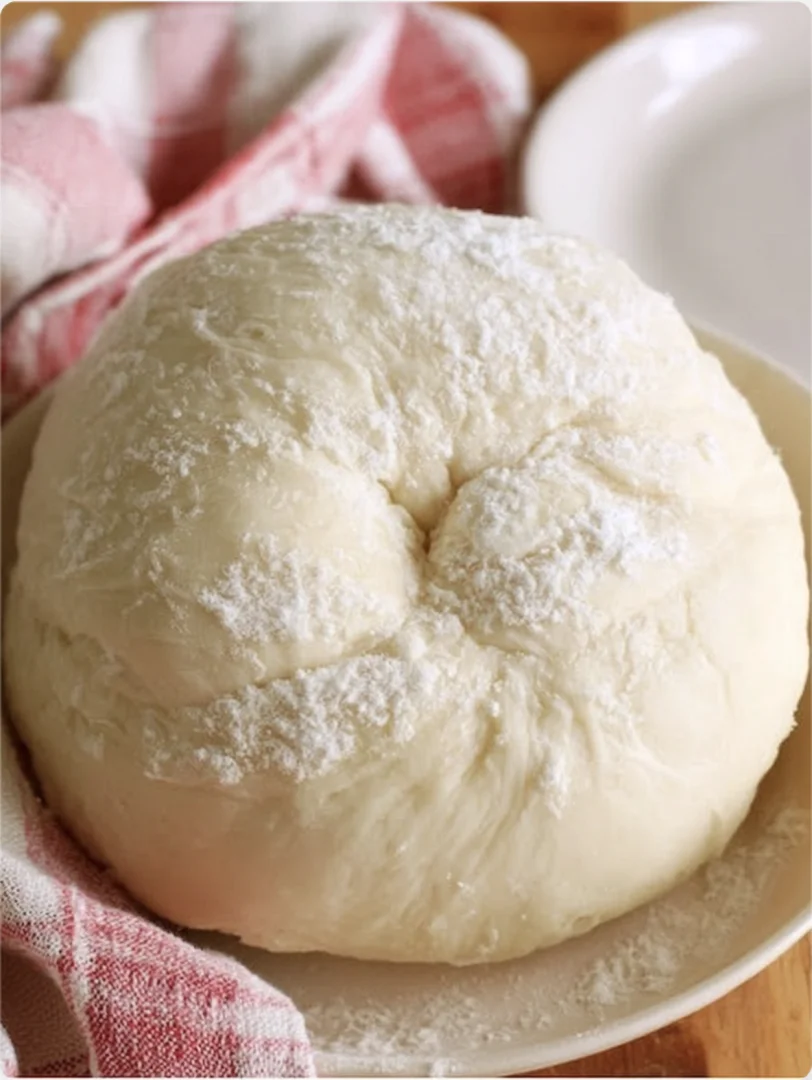
A versatile dough that can be adapted to create over ten different types of bread.
Ingredients
- 4 cups all-purpose flour (plus extra for dusting)
- 2 teaspoons salt
- 1 teaspoon sugar
- 2 teaspoons instant yeast
- 1 ¾ cups warm water (about 110°F or 43°C)
- 2 tablespoons olive oil (optional for added flavor)
Instructions
In a large mixing bowl, combine the all-purpose flour, salt, sugar, and instant yeast. Mix these dry ingredients together until well incorporated.
Gradually pour in the warm water and olive oil (if using). Stir with a wooden spoon or your hand until the mixture forms a shaggy dough.
If you prefer a more traditional approach, knead the dough on a lightly floured surface for about 8-10 minutes until it becomes smooth and elastic.
Transfer the dough into a lightly greased bowl. Cover it and let it rise in a warm place for about 1-2 hours, or until it has doubled in size.
Gently punch down the dough to release any trapped air. Turn it out onto a lightly floured surface and shape it into your desired loaf or rolls.
Place the shaped dough onto a baking sheet lined with parchment paper. Cover again and let it rise for another 30-60 minutes until puffy.
About 20 minutes before baking, preheat your oven to 450°F (230°C).
Once preheated, bake the dough for 25-30 minutes, or until the bread is golden brown and sounds hollow when tapped.
Remove the bread from the oven and let it cool on a wire rack before slicing.
Recipe Reviews
- ★★★★★
Excellent recipe!
Leave a Reply
Your email address will not be published. Required fields are marked *





Excellent recipe!