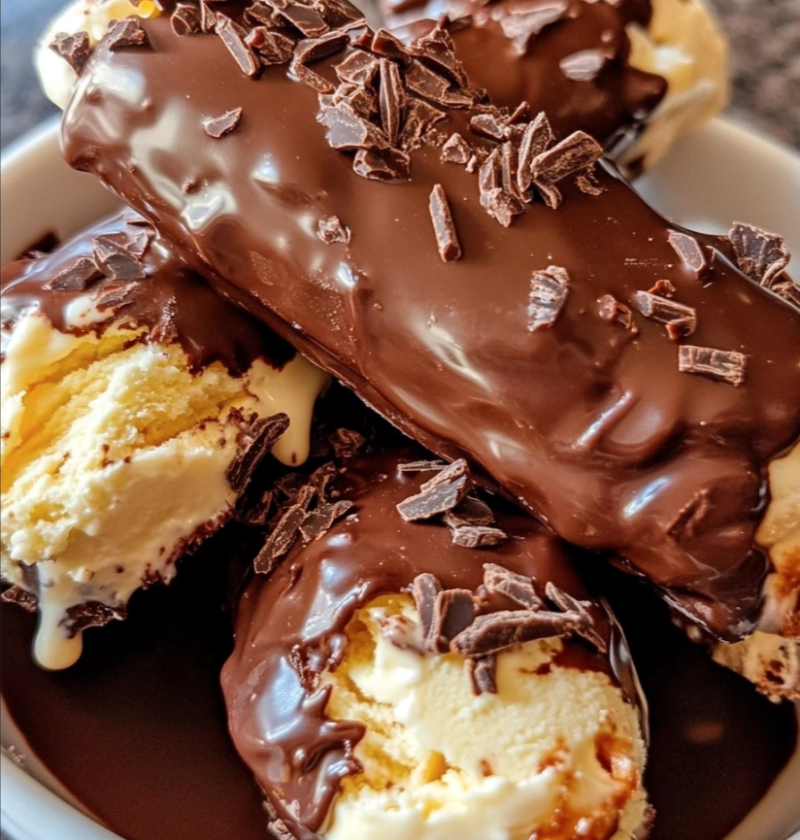
Homemade Chocolate-Covered Ice Cream Bars
Introduction
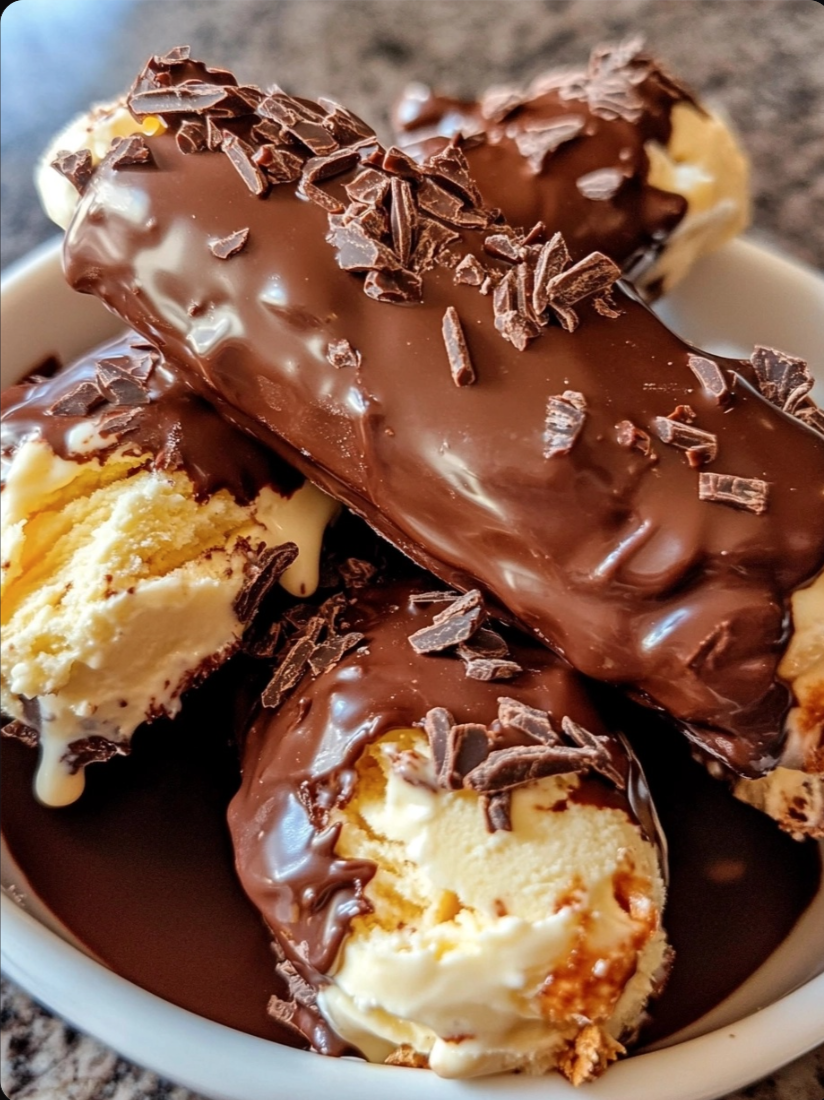
Welcome to this delicious recipe for homemade chocolate-covered ice cream bars! If you’re a fan of the classic store-bought treat, you’ll love making your own at home. Not only are these bars incredibly tasty, but they also allow you to customize the flavors and toppings to suit your preferences. Whether you’re hosting a summer gathering or simply want to indulge in a sweet treat, these homemade chocolate-covered ice cream bars are sure to be a hit!
Ingredients
For this recipe, you will need the following ingredients:
– Your favorite ice cream flavors
– High-quality chocolate (milk, dark, or white)
– Coconut oil
– Toppings of your choice (chopped nuts, sprinkles, crushed cookies, etc.)
Steps
Follow these simple steps to create your homemade chocolate-covered ice cream bars:
Step 1: Prepare the Ice Cream
Allow your chosen ice cream flavors to soften slightly at room temperature. This will make it easier to spread in the next steps.
Step 2: Line a Pan
Line a baking pan or dish with parchment paper or plastic wrap. The size of the pan will depend on how thick you want your ice cream bars to be.
Step 3: Layer the Ice Cream
Spoon one flavor of ice cream into the prepared pan, spreading it evenly to create a smooth layer. Repeat this step with any additional flavors you want to include.
Step 4: Freeze the Ice Cream
Place the pan in the freezer and let the ice cream freeze completely. This usually takes about 2-4 hours, depending on the depth of your layers.
Step 5: Cut into Bars
Once the ice cream is fully frozen, remove the pan from the freezer. Lift the ice cream slab out of the pan using the parchment paper or plastic wrap. Place it on a cutting board and cut it into individual bars or desired shapes.
Step 6: Prepare the Chocolate Coating
In a microwave-safe bowl, melt the chocolate and coconut oil together. Heat in short intervals, stirring in between, until the mixture is smooth and fully melted.
Step 7: Coat the Ice Cream Bars
Dip each ice cream bar into the melted chocolate mixture, ensuring it is fully coated. Use a spoon or spatula to help spread the chocolate evenly. Allow any excess chocolate to drip off before placing the bars back on the parchment paper or a wire rack.
Step 8: Add Toppings
While the chocolate coating is still wet, sprinkle your desired toppings onto the bars. Get creative with crushed nuts, sprinkles, or crushed cookies to add extra flavor and texture.
Step 9: Freeze Again
Place the chocolate-covered ice cream bars back in the freezer to allow the chocolate to set. This usually takes about 1-2 hours.
Variations
There are endless possibilities to customize your homemade chocolate-covered ice cream bars. Here are a few ideas:
– Add a layer of caramel or fruit preserves between the ice cream layers.
– Use different types of chocolate for the coating, such as dark chocolate for a richer flavor.
– Experiment with various toppings like shredded coconut, crushed candies, or mini chocolate chips.
Tips
Follow these tips for the best results:
– Use high-quality chocolate for a smoother and tastier coating.
– Allow enough time for the ice cream to soften before spreading it in the pan.
– Freeze the ice cream bars until they are fully set before dipping them in the melted chocolate.
– Work quickly when coating the bars with chocolate to prevent the ice cream from melting too much.
Conclusion
Homemade chocolate-covered ice cream bars are a delightful treat that you can easily make in your own kitchen. By following these simple steps, you can create a personalized frozen dessert that is sure to impress your friends and family. Enjoy the endless flavor combinations and get creative with different toppings. Whether enjoyed on a hot summer day or during a cozy winter evening, these homemade chocolate-covered ice cream bars are always a crowd-pleaser!
FAQs
Q: Can I use store-bought ice cream for this recipe?
A: Absolutely! You can use your favorite store-bought ice cream flavors instead of making your own.
Q: How long do the homemade chocolate-covered ice cream bars last in the freezer?
A: These bars can be stored in an airtight container in the freezer for up to 2 weeks.
Q: Can I use other types of chocolate for the coating?
A: Yes, feel free to experiment with different types of chocolate, such as white or dark chocolate, for a unique flavor.
Q: Can I make these bars without using coconut oil?
A: Coconut oil helps to give the chocolate coating a smooth and glossy texture, but you can substitute it with vegetable oil if desired.
Q: Can I make these ice cream bars without a microwave?
A: Yes, you can melt the chocolate and coconut oil using a double boiler on the stovetop.