Introduction
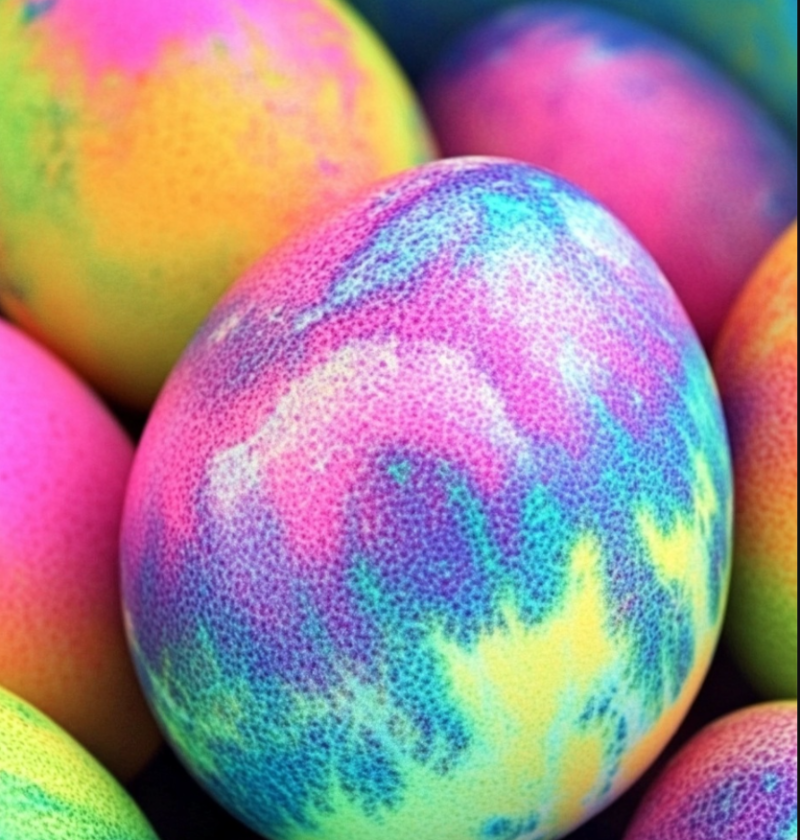
Tie dye Easter eggs are a fun and creative way to celebrate the holiday season. This unique technique involves using vibrant colors and patterns to create beautiful designs on the eggs. Whether you are looking to add a festive touch to your Easter decorations or want a fun activity to do with your family, tie dye Easter eggs are a perfect choice. In this article, we will guide you through the process of creating tie dye Easter eggs, provide some variations to try, offer helpful tips, and answer some frequently asked questions.

Ingredients
To create tie dye Easter eggs, you will need the following ingredients:
– Hard-boiled eggs
– Food coloring (assorted colors)
– White vinegar
– Rubber bands
– Plastic squeeze bottles or droppers
– Paper towels or newspaper
Steps
Follow these steps to create your own tie dye Easter eggs:
1. Start by preparing your work area. Lay down some paper towels or newspaper to protect the surface.
2. Gather your hard-boiled eggs and set them aside.
3. In separate cups or bowls, mix together 1/2 cup of hot water, 1 tablespoon of white vinegar, and a few drops of food coloring. Repeat this step for each color you want to use.
4. Take a rubber band and wrap it tightly around an egg. You can create different patterns by using multiple rubber bands or varying the placement of the bands.
5. Place the egg in one of the colored dye mixtures. Let it soak for a few minutes or until you achieve the desired color intensity.
6. Carefully remove the egg from the dye mixture and set it aside to dry. You can place it on a wire rack or on paper towels.
7. Repeat steps 4-6 for each egg, using different rubber band patterns and colors.
8. Once the eggs are completely dry, remove the rubber bands to reveal the tie dye patterns.

Variations
There are endless possibilities when it comes to creating tie dye Easter eggs. Here are a few variations you can try:
– Use different shades of the same color to create an ombre effect.
– Experiment with different patterns such as spirals, stripes, or polka dots.
– Combine multiple colors on one egg for a vibrant and colorful design.
– Use natural dyes such as beet juice or turmeric for a more organic and eco-friendly approach.
Tips
Here are some helpful tips to keep in mind when creating tie dye Easter eggs:
– Use a white vinegar and water mixture to clean the eggs before dyeing them. This will help the dye adhere better to the surface.
– For more vibrant colors, let the eggs soak in the dye mixture for a longer period of time.
– Experiment with different techniques and materials, such as using paintbrushes or sponges to apply the dye.
– Have fun and get creative! Don’t be afraid to try new patterns and color combinations.
Conclusion
Tie dye Easter eggs are a fun and festive way to celebrate the holiday season. By following the simple steps outlined in this article, you can create beautiful and unique designs that will impress your family and friends. Whether you choose to stick with traditional colors or experiment with different patterns and variations, tie dye Easter eggs are sure to add a vibrant touch to your Easter celebrations. So gather your materials, get creative, and enjoy the process of creating your own tie dye Easter eggs!
FAQs
Q: Can I use regular eggs instead of hard-boiled eggs?
A: It is recommended to use hard-boiled eggs for tie dye Easter eggs, as they are sturdier and less likely to break during the dyeing process.
Q: How long will the tie dye designs last on the eggs?
A: The tie dye designs should last as long as the eggs are kept refrigerated. However, over time, the colors may fade slightly.
Q: Can I eat the tie dye Easter eggs?
A: Yes, you can eat tie dye Easter eggs just like regular hard-boiled eggs. However, make sure to peel off the dye before consuming.
Q: Can I use other types of dye instead of food coloring?
A: While food coloring is the most common and easily accessible option, you can experiment with other types of dye such as fabric dye or natural dyes.