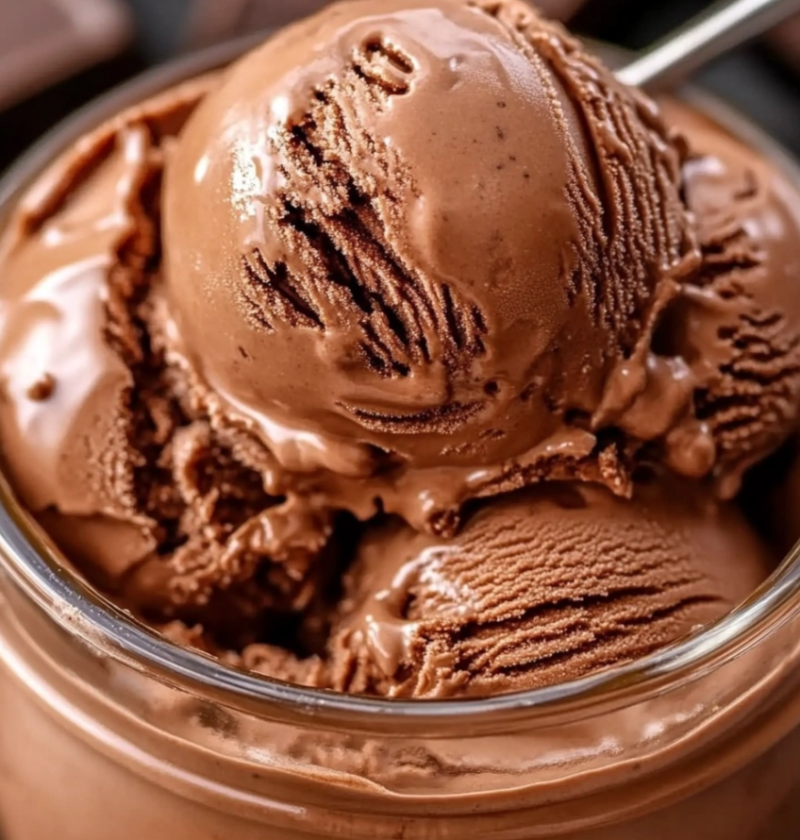
Homemade Chocolate Ice Cream Recipe
Ice cream is a beloved dessert that can be enjoyed year-round. While there are countless flavors available in stores, there’s something special about making your own homemade ice cream. One flavor that is universally loved is chocolate. The rich and creamy taste of homemade chocolate ice cream is truly indulgent. In this article, we will guide you through the process of making your very own homemade chocolate ice cream.
Ingredients
Main Ingredients:
- 2 cups heavy cream
- 1 cup whole milk
- 1 cup granulated sugar
- 1/2 cup unsweetened cocoa powder
- 4 ounces dark chocolate, chopped
- 4 large egg yolks
- 1 teaspoon vanilla extract
Optional Ingredients:
- 1/2 cup chocolate chips
- 1/2 cup chopped nuts
- 1/4 cup chocolate syrup
- 1/4 cup marshmallow cream
Steps
Step 1: Preparing the Custard Base
In a saucepan, combine the heavy cream, whole milk, granulated sugar, and cocoa powder. Whisk the mixture over medium heat until it begins to steam.
Step 2: Adding the Chocolate
Add the chopped dark chocolate to the saucepan and continue whisking until the chocolate is completely melted and the mixture is smooth.
Step 3: Tempering the Eggs
In a separate bowl, whisk the egg yolks. Gradually pour about 1/2 cup of the hot chocolate mixture into the egg yolks, whisking constantly. This will temper the eggs and prevent them from curdling when added to the hot mixture.
Step 4: Combining the Mixtures
Pour the tempered egg mixture back into the saucepan with the remaining chocolate mixture. Cook over medium heat, stirring constantly, until the mixture thickens and coats the back of a spoon. This should take about 5-7 minutes.
Step 5: Straining the Custard
Remove the saucepan from the heat and strain the custard through a fine-mesh sieve to ensure a smooth texture. This will remove any lumps or bits of cooked egg.
Step 6: Chilling the Custard
Place the custard in a bowl and cover it with plastic wrap, making sure the plastic wrap touches the surface of the custard to prevent a skin from forming. Refrigerate for at least 4 hours or overnight to allow the flavors to develop and the custard to chill thoroughly.
Step 7: Churning the Ice Cream
Pour the chilled custard into an ice cream maker and churn according to the manufacturer’s instructions. This usually takes about 20-25 minutes.
Step 8: Adding Optional Ingredients
If desired, add any optional ingredients such as chocolate chips, chopped nuts, chocolate syrup, or marshmallow cream during the last few minutes of churning to incorporate them into the ice cream.
Step 9: Freezing the Ice Cream
Transfer the churned ice cream into an airtight container and freeze for at least 4 hours or until firm. This will allow the ice cream to set and achieve the perfect consistency.
Variations
While this homemade chocolate ice cream recipe is delicious on its own, you can also experiment with different variations to customize it to your taste:
Mint Chocolate Chip:
Add 1/2 teaspoon of peppermint extract and a handful of chopped chocolate chips to the custard before churning.
Salted Caramel Chocolate:
Swirl in some homemade salted caramel sauce during the last few minutes of churning for a decadent caramel-chocolate flavor combination.
Chocolate Peanut Butter:
Add 1/2 cup of creamy peanut butter to the custard before churning for a rich and creamy chocolate-peanut butter ice cream.
Tips
- Make sure to use high-quality cocoa powder and dark chocolate for the best flavor.
- Allow the custard to chill thoroughly before churning to ensure a smoother texture.
- For a more intense chocolate flavor, increase the amount of cocoa powder or use a higher percentage dark chocolate.
- Experiment with different mix-ins and toppings to create your own signature chocolate ice cream.
Conclusion
Homemade chocolate ice cream is a classic treat that can be enjoyed by people of all ages. By following this recipe, you can create a rich and creamy chocolate ice cream that is sure to satisfy your sweet tooth. The process of making your own ice cream can be a fun and rewarding experience, and the end result is a dessert that is truly indulgent and delicious. So, why not give it a try and enjoy a scoop of homemade chocolate ice cream today?
FAQs
1. Can I use a different type of milk?
While whole milk is recommended for its richness, you can use 2% or even skim milk if you prefer a lighter version of the ice cream. However, keep in mind that the texture and creaminess may be affected.
2. Can I substitute the sugar with a healthier alternative?
Absolutely! You can use alternative sweeteners like honey, maple syrup, or a sugar substitute like stevia. Just adjust the quantity to taste and keep in mind that it may slightly alter the texture of the ice cream.
3. Can I make this recipe without an ice cream maker?
Yes, you can. After step 6, instead of using an ice cream maker, pour the chilled custard into a shallow container and place it in the freezer. Every 30 minutes, take it out and vigorously stir the mixture to prevent ice crystals from forming. Repeat this process for about 3-4 hours until the ice cream reaches the desired consistency.
4. How long can I store the homemade chocolate ice cream?
When stored in an airtight container in the freezer, homemade chocolate ice cream can typically be enjoyed for up to 2-3 weeks. However, for the best taste and texture, it is recommended to consume it within the first week.