Introduction
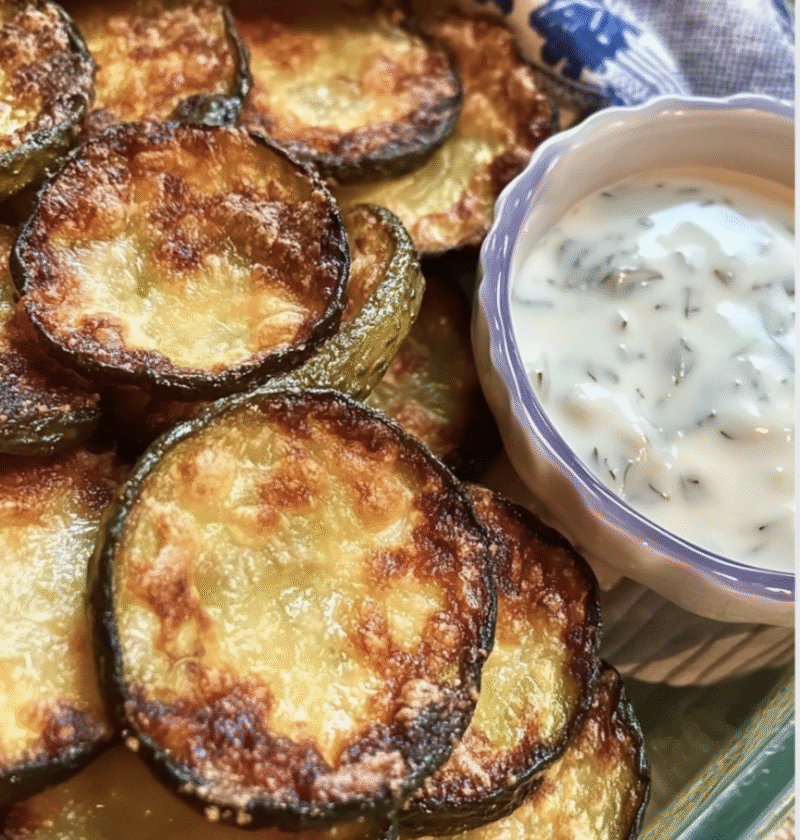
When it comes to irresistible snacks, few things can compare to the delightful combination of crispy, cheesy dill pickle chips. These tasty morsels offer a perfect blend of tangy dill pickles, crunchy coating, and gooey cheese, making them a favorite among snack lovers of all ages. Whether you’re looking for a savory treat to enjoy on game night or a crowd-pleasing appetizer for your next gathering, crispy, cheesy dill pickle chips are sure to be a hit.
With just a handful of simple ingredients and a few easy steps, you can whip up a batch of these addictive snacks in no time. In this article, we’ll walk you through the process of making your own crispy, cheesy dill pickle chips at home. From selecting the right pickles to achieving the perfect level of crispiness, we’ll cover everything you need to know to create a snack that will have everyone coming back for more.
So grab your apron, preheat your oven, and get ready to indulge in the deliciousness of crispy, cheesy dill pickle chips!
Ingredients
To make your own crispy, cheesy dill pickle chips, you’ll need the following ingredients:
– Dill pickles (sliced) – All-purpose flour – Eggs – Milk – Bread crumbs – Shredded cheddar cheese – Parmesan cheese – Garlic powder – Paprika – Salt – Pepper
Feel free to adjust the quantities of each ingredient based on the number of pickle chips you want to make and your personal taste preferences.
Steps
1. Preheat your oven to 425°F (220°C) and line a baking sheet with parchment paper.
2. In one bowl, whisk together the eggs and milk to create an egg wash.
3. In another bowl, combine the bread crumbs, cheddar cheese, Parmesan cheese, garlic powder, paprika, salt, and pepper to create the coating mixture.
4. Dip each dill pickle slice into the egg wash, then coat it evenly with the bread crumb mixture.
5. Place the coated pickle slices on the prepared baking sheet in a single layer.
6. Bake the pickle chips in the preheated oven for 15-20 minutes, or until they are golden brown and crispy.
7. Remove the pickle chips from the oven and allow them to cool slightly before serving.
Variations
While the classic recipe for crispy, cheesy dill pickle chips is delicious on its own, there are countless variations you can try to customize this snack to your liking. Here are a few ideas to inspire your creativity:
– Swap the cheddar and Parmesan cheese for mozzarella for a gooier, more melty texture. – Add a pinch of cayenne pepper to the coating mixture for a spicy kick. – Experiment with different types of pickles, such as spicy pickles or bread and butter pickles, for unique flavor combinations.
Don’t be afraid to get creative and put your own spin on this classic recipe!
Tips
For the crispiest pickle chips, be sure to pat the pickle slices dry with a paper towel before coating them. This will help the coating adhere better and result in a crunchier texture.
If you prefer a lighter version of this snack, you can also opt to air fry the pickle chips instead of baking them. Simply follow the same coating and baking instructions, but cook the chips in an air fryer according to the manufacturer’s recommendations.
Feel free to serve your crispy, cheesy dill pickle chips with your favorite dipping sauce, such as ranch dressing, barbecue sauce, or spicy mayo, for an extra burst of flavor.
Conclusion
Crispy, cheesy dill pickle chips are a delicious and addictive snack that is perfect for any occasion. With their irresistible combination of tangy pickles, crispy coating, and gooey cheese, these flavorful morsels are sure to be a hit with friends and family alike. By following the simple steps outlined in this article, you can easily make your own batch of crispy, cheesy dill pickle chips at home and enjoy the satisfying crunch with every bite.
FAQs
Q: Can I make crispy, cheesy dill pickle chips ahead of time?
A: Yes! You can prepare the pickle chips up to the coating stage and store them in the refrigerator until you are ready to bake them. This way, you can have fresh, hot pickle chips whenever you want.
Q: How should I store leftover crispy, cheesy dill pickle chips?
A: If you have any leftover pickle chips, store them in an airtight container in the refrigerator. To reheat them, simply place them in the oven or air fryer until they are heated through and crispy again.
Q: Can I use store-bought pickles for this recipe?
A: Absolutely! While homemade pickles can add a special touch, store-bought pickles work just as well for making crispy, cheesy dill pickle chips.
Enjoy your crispy, cheesy dill pickle chips and happy snacking!
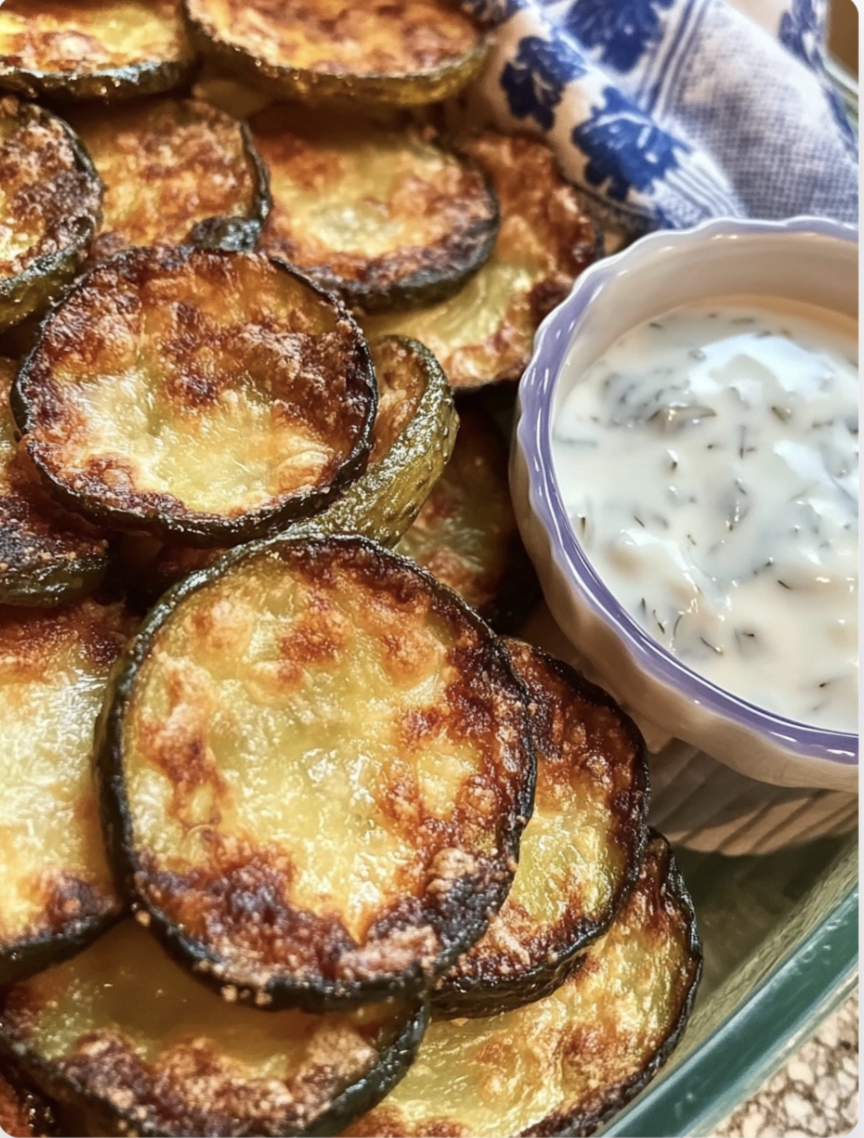
Crispy, Cheesy Dill Pickle Chips
Delight in the irresistible combination of tangy dill pickles, crunchy coating, and gooey cheese with these crispy cheesy dill pickle chips. Perfect for snacking on game night or as a crowd-pleasing appetizer, these addictive morsels are sure to be a hit with friends and family.
Ingredients
- Dill pickles (sliced)
- All-purpose flour
- Eggs
- Milk
- Bread crumbs
- Shredded cheddar cheese
- Parmesan cheese
- Garlic powder
- Paprika
- Salt
- Pepper
Directions
-
Preheat your oven to 425°F (220°C) and line a baking sheet with parchment paper.
-
In one bowl, whisk together the eggs and milk to create an egg wash.
-
In another bowl, combine the bread crumbs, cheddar cheese, Parmesan cheese, garlic powder, paprika, salt, and pepper to create the coating mixture.
-
Dip each dill pickle slice into the egg wash, then coat it evenly with the bread crumb mixture.
-
Place the coated pickle slices on the prepared baking sheet in a single layer.
-
Bake the pickle chips in the preheated oven for 15-20 minutes, or until they are golden brown and crispy.
-
Remove the pickle chips from the oven and allow them to cool slightly before serving.