Approved Recipe Puts the Magic in Magic Cookie Bars
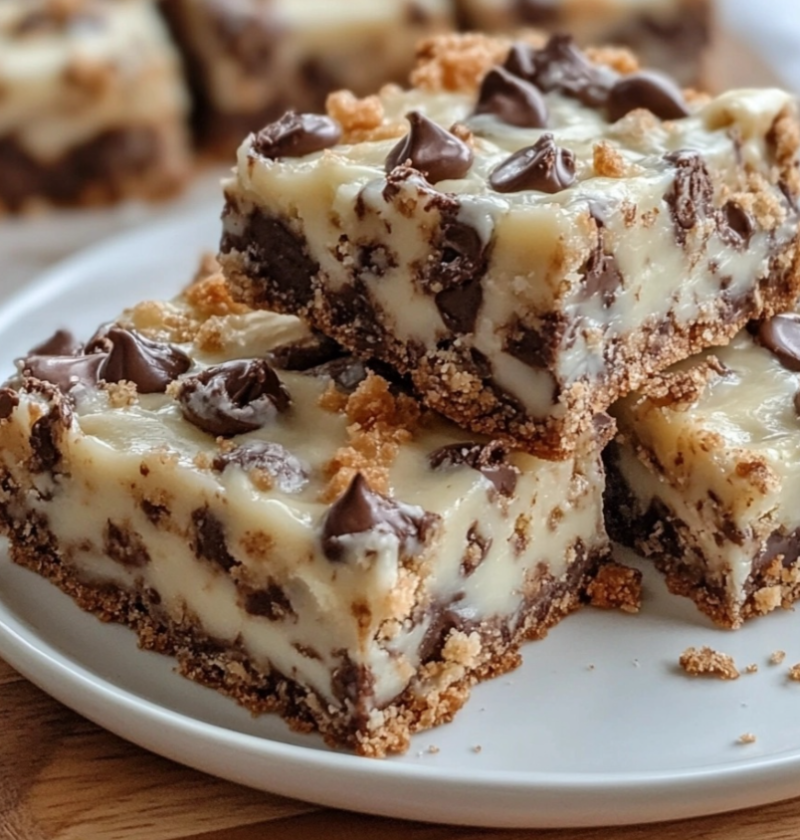
When it comes to indulgent desserts, there’s nothing quite like a batch of Magic Cookie Bars. These delightful treats are a crowd-pleaser, with their combination of sweet, chewy, and crunchy layers. Whether you’re a seasoned baker or a beginner in the kitchen, this approved recipe will help you create the perfect batch of Magic Cookie Bars that will leave everyone asking for more.
Ingredients:
- 1 ½ cups graham cracker crumbs
- 1/2 cup unsalted butter, melted
- 1 cup semisweet chocolate chips
- 1 cup butterscotch chips
- 1 cup sweetened shredded coconut
- 1 cup chopped nuts (such as walnuts or pecans)
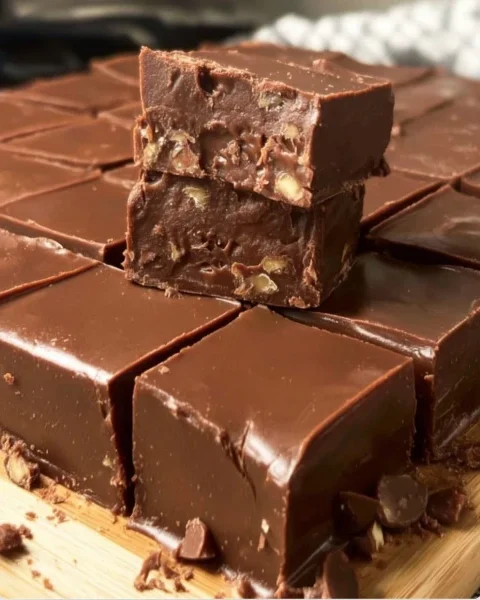
- 1 can (14 ounces) sweetened condensed milk
Steps:
Step 1: Preheat and Prepare
Preheat your oven to 350°F (175°C) and grease a 9×13-inch baking dish.
Step 2: Create the Crust
In a medium bowl, combine the graham cracker crumbs and melted butter. Mix well until the crumbs are evenly coated. Press the mixture firmly into the bottom of the prepared baking dish to form a crust.
Step 3: Layer the Magic
Sprinkle the chocolate chips, butterscotch chips, shredded coconut, and chopped nuts evenly over the crust. Be generous with the toppings to ensure each bite is filled with magic.
Step 4: Pour the Sweetness
Drizzle the sweetened condensed milk over the top of the layered ingredients. The milk will add a creamy and sweet element to the bars.
Step 5: Bake to Perfection
Place the baking dish in the preheated oven and bake for 25-30 minutes, or until the edges are golden brown and the center is set. Keep an eye on the bars to prevent them from over-browning.
Step 6: Cool and Slice
Allow the Magic Cookie Bars to cool completely in the baking dish before slicing into squares or bars. This will ensure that the bars hold their shape and maintain their delicious layers.
Variations:
1. Peanut Butter Lover’s Magic Bars
If you’re a fan of peanut butter, swap out the butterscotch chips for peanut butter chips. This variation adds a creamy and nutty flavor to the bars.
2. White Chocolate Raspberry Magic Bars
Add a touch of elegance to your Magic Cookie Bars by using white chocolate chips and dried raspberries instead of the semisweet chocolate chips. The tartness of the raspberries complements the sweetness of the white chocolate perfectly.
Tips:
1. Use Fresh Ingredients
For the best results, make sure your ingredients are fresh. Stale graham cracker crumbs or old nuts can affect the overall taste and texture of the bars.
2. Press the Crust Firmly
When creating the crust, be sure to press it firmly into the baking dish. This will help the crust hold together and provide a solid base for the layers.
3. Customize with Your Favorite Toppings
Feel free to get creative with the toppings. Add in your favorite candies, dried fruits, or even a sprinkle of sea salt to take your Magic Cookie Bars to the next level.
Conclusion:
Magic Cookie Bars are a classic dessert that never fails to impress. With their layers of graham cracker crust, chocolate and butterscotch chips, shredded coconut, and nuts, these bars are a sweet and satisfying treat for any occasion. By following this approved recipe and adding your own personal touch, you’ll be able to create a batch of Magic Cookie Bars that will make you a baking superstar.
FAQs:
Q: Can I use different types of chocolate?
A: Absolutely! Feel free to experiment with different types of chocolate chips, such as dark chocolate, white chocolate, or even mint chocolate chips. The choice is yours!
Q: How should I store Magic Cookie Bars?
A: Once cooled and sliced, store Magic Cookie Bars in an airtight container at room temperature. They will stay fresh for up to a week, but chances are they won’t last that long!
Q: Can I freeze Magic Cookie Bars?
A: Yes, you can freeze Magic Cookie Bars. Wrap them tightly in plastic wrap or place them in a freezer-safe container. Thaw them in the refrigerator overnight before enjoying.
With this approved recipe, you can easily create a batch of Magic Cookie Bars that will leave a lasting impression on your friends and family. So go ahead, gather your ingredients, and let the magic begin!